How to Set Up Registration for an Online Event

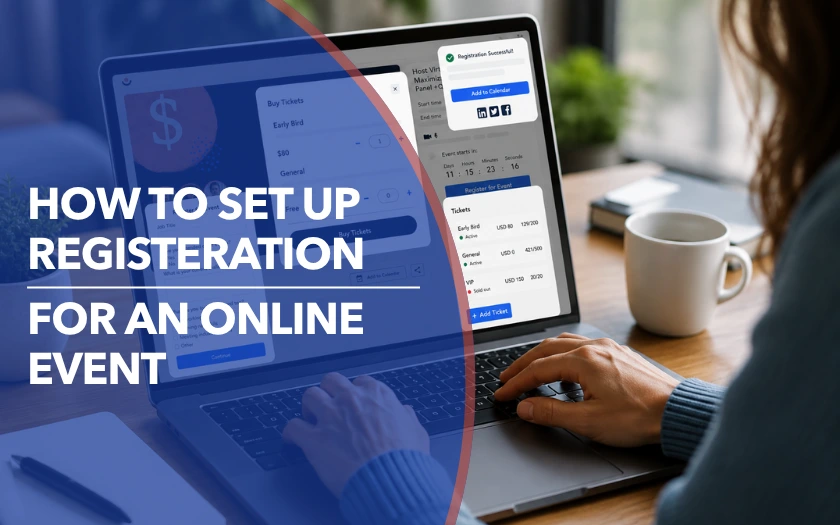
To register attendees for an online event, choose a registration platform, create an event page, build a simple registration form, set up tickets or payments, and automate confirmation and reminder emails. It sounds straightforward in theory, but creating a registration process that is easy to complete and optimized for attendance requires more careful planning. Forms can ask for too much information, require unnecessary account creation, or leave attendees searching for join links later.
Getting someone to complete a registration form is only half the job. A completed registration does not guarantee attendance, so organizers also need a way to manage attendee data, track where registrations come from, and keep people engaged between signing up and showing up.
This guide walks through how to build and optimize an online event registration process that reduces friction, gives organizers better visibility into performance, and helps turn more registrations into actual attendance.
{{table-of-contents}}
Step 1: Choose the Right Online Event Registration Platform
The first step in setting up online event registration is choosing a platform that supports your registration process and the type of event you are hosting. A simple webinar has very different needs from a multi-day virtual conference or a business networking event.
To choose the right registration platform, start by identifying what your registration process actually requires. Depending on your event, look for features such as:
- Customizable registration pages
- Registration forms with tailored fields
- Free and paid ticketing options
- Payment processing
- Registration limits and waitlists
- Post-registration emails
- Calendar integrations
- UTM tracking
- CRM or marketing integrations
- Passwordless access or magic links
The feature list matters, but the overall experience matters more. Running registration through one tool, sending emails from another, and hosting the event somewhere else creates extra steps for both your team and your attendees.
The best virtual registration platforms connect registration with the event experience to keep the journey simpler. Attendees can move from signing up to joining the event without unnecessary confusion about where to go next.
Step 2: Create Your Online Event Registration Page
Your online event registration page should give potential attendees the information they need to decide whether to register. They should be able to quickly understand what the event is, who it is for, when it takes place, what is on the agenda, and why it is worth attending.
Keep the key details in one place:
- Event name: Make it clear and easy to recognize.
- Date, time, and time zone: Display these clearly, especially for events with attendees in different locations.
- Event format: Explain whether it is a webinar, virtual conference, networking event, workshop, or another format.
- Who the event is for: Be specific so the right audience can quickly identify its relevance.
- Agenda or event schedule: Show attendees what is planned, including key sessions, tracks, or activities where relevant.
- Speakers or hosts: Include the people attendees will hear from or interact with.
- What attendees will gain: Clearly explain the value of attending.
- Ticket prices: For paid events, make the cost and what each ticket includes easy to understand.
Most importantly, your registration CTA should be clear and easy to find. Once someone has decided to attend, the next step should be obvious. For a more in-depth guide to building a high-performing registration page, see our article on creating a virtual summit landing page.
Step 3: Set Up Ticket Types, RSVPs, and Payments
Before building your registration flow, decide how attendees will register and what access options they can choose from. Depending on your event, this may be a simple RSVP, a single ticket, or multiple ticket types that provide different access, experiences, or benefits.
For example, a free mentor networking event may offer separate ticket types for mentors and mentees. A multi-day conference, meanwhile, may offer paid options for VIP access, single-day attendance, or other levels of access.
Common ticket options include:
- General admission
- VIP access
- Early-bird tickets
- Student or member pricing
- Group tickets
- Single-day or multi-day passes
You should also decide whether to set a registration limit, deadline, or waitlist based on your event capacity and ticket availability.
Keep ticket names straightforward and make the difference between each option clear. If attendees need to compare several tickets, they should be able to quickly see what each one includes without reading through long descriptions.
For paid events, connect your ticket setup to a simple checkout process and make the full price clear before payment. Also check how and when ticket payouts are processed, as schedules can vary between platforms. Some release funds as tickets are sold, while others distribute payouts after the event or on a separate schedule. For more guidance on pricing and selling tickets, see our guide on how to sell event tickets online.
Step 4: Build a Registration Form That Reduces Abandonment
Once attendees have selected a ticket or RSVP option, the next step is collecting the information you need to register them. The best online event registration forms collect that information without turning registration into a task attendees put off and never return to.
For a simple webinar or free event, keep the number of required fields to a minimum. More complex events, such as conferences with multiple sessions, networking preferences, or accessibility requirements, may need additional fields. Even then, only ask for information that has a clear purpose.
For most events, start with the basics:
- Name
- Email address
- Phone number, if needed for event communication or reminders
You can add other fields when they help you plan the event or improve the attendee experience. Depending on your event, that may include:
- Company or organization
- Job title
- Industry
- Location
- Session preferences
- Accessibility requirements
- Networking interests or goals
- Consent for recording or contacting registrants
The way you ask for information matters too. Aim for no more than one or two long-answer text boxes, especially when the information can be collected through a simpler field. When attendees can choose from predefined options, use radio buttons, checkboxes, or dropdown menus to make the form faster to complete.
The key is separating what you need now from what would simply be nice to know. If a person's job title or industry will not affect their registration, event experience, or follow-up, there is little reason to make it a required field.
You can always collect additional information later through in-event surveys, profile questions, or post-registration communication. Keeping the initial form focused makes it easier to complete while giving your team cleaner, more useful attendee data.
.webp)
Step 5: Automate Your Post-Registration Communication
After someone registers, your event registration system should do more than send a confirmation email. Post-registration communication helps keep the event top of mind, reduce uncertainty, and make it easier for attendees to follow through and attend.
The timing, frequency, and channels you use should match the needs of your event and attendees. A multi-day conference may require more updates than a single webinar, while some information may be better delivered through email, calendar notifications, or in-platform messages.
The example below shows a simple post-registration communication sequence for a basic webinar:
The goal is not to send more messages, but to send the right information when attendees need it. Someone who has just registered needs confirmation and clarity, while someone joining in ten minutes needs a simple way to get in.
How to Reduce Online Event Registration Abandonment and No-Shows
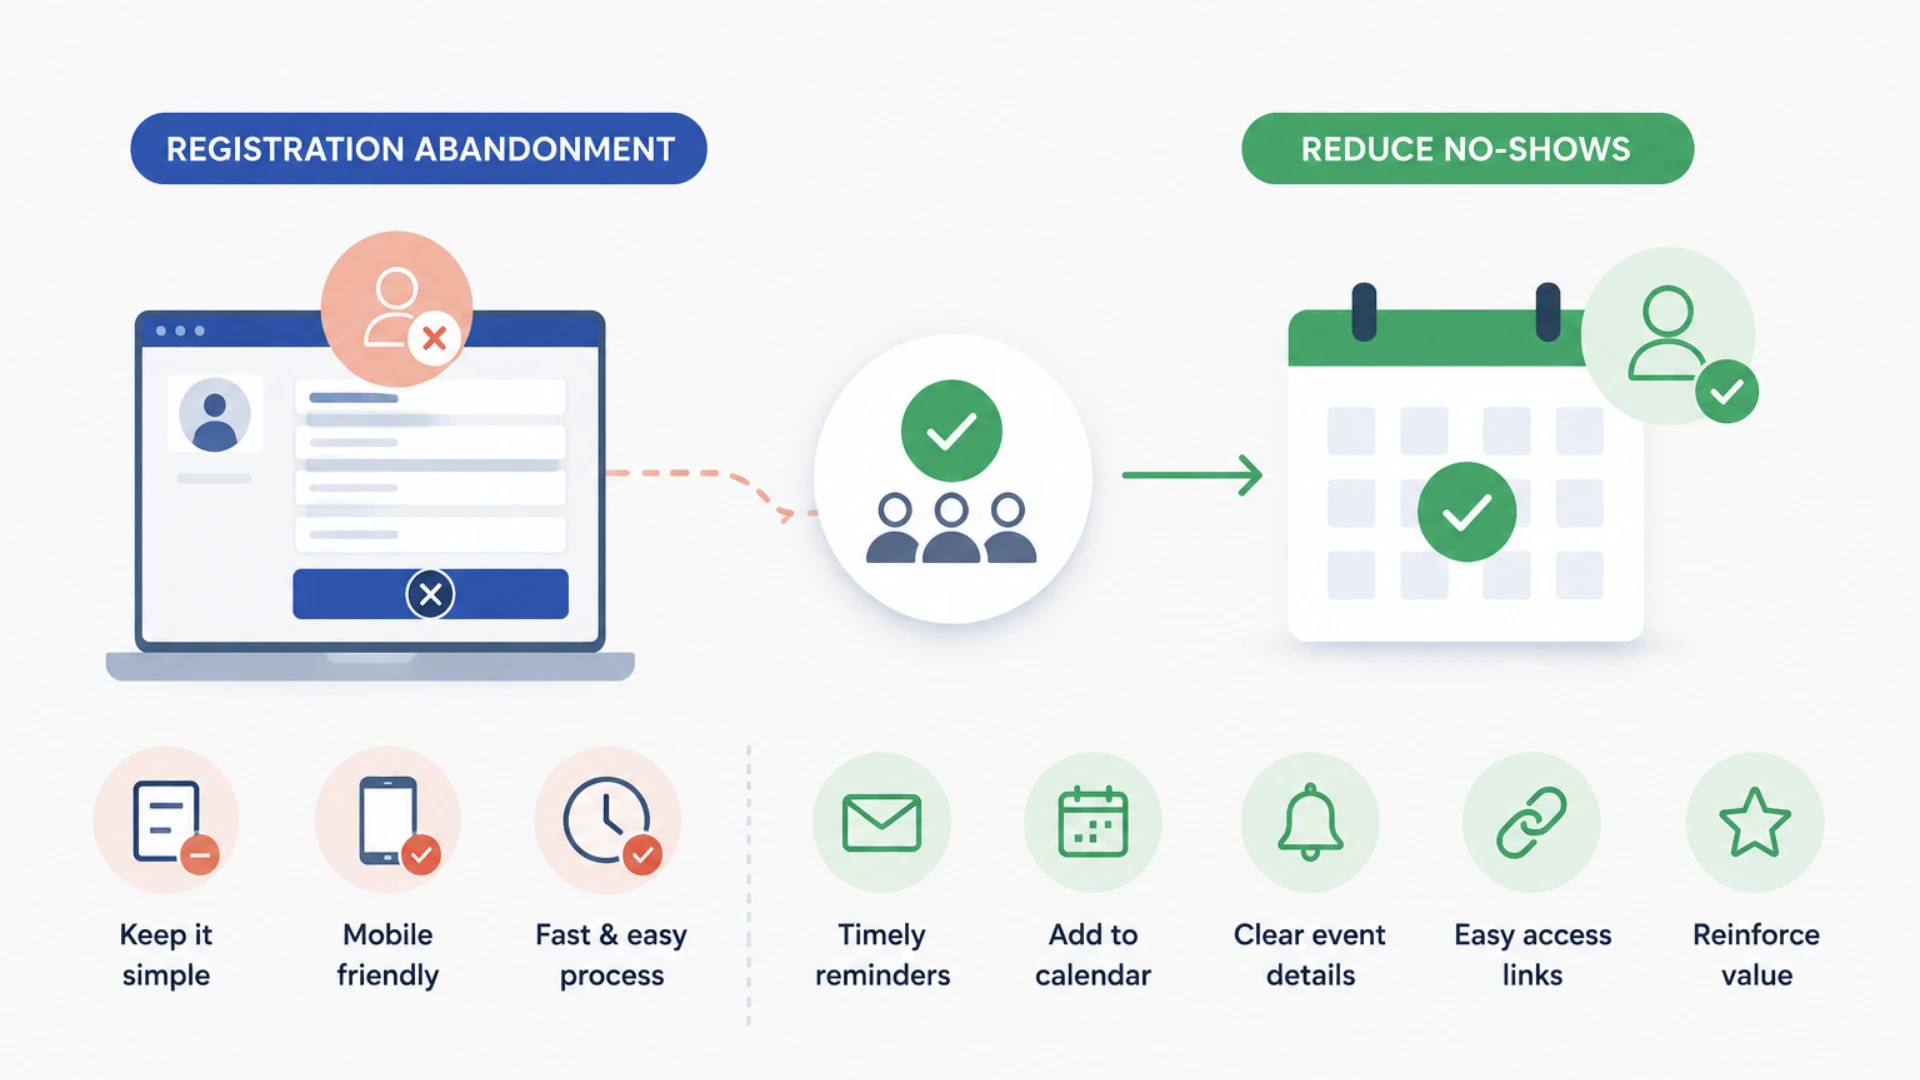
A well-designed registration process does more than collect sign-ups. It should also make it easy for people to complete registration and follow through when the event arrives.
Online event organizers often face two different problems: some people start the registration process but never finish it, while others complete their registration and then never show up. Each requires a different approach to improve results.
Reduce Registration Abandonment
Registration abandonment usually comes down to friction during the online registration process. If the form is too long, ticket options are confusing, or attendees are asked to create an account before they can register, some people will simply leave.
Keep the process focused by:
- Asking only for information you need
- Removing unnecessary required fields
- Making ticket options easy to understand
- Clearly explaining why the event is worth registering for
- Avoiding unnecessary account creation
- Making sure the registration flow works smoothly across devices
Reduce Event No-Shows
No-shows occur when registered attendees do not attend the online event. According to ON24's 2026 Webinar Benchmarks Report, 60% of webinar registrations converted to attendees in 2025. That means 40% of registrants did not attend, highlighting why post-registration communication matters. The goal is to give registrants clear reasons to attend and timely reminders to follow through.
Focus on:
- Automated reminder emails
- Add-to-calendar options
- Clear event times and time zones
- Easy-to-find access information
- Simple login or passwordless access where available
- Reminders that reinforce the value of attending
Track your registration-to-attendance rate over time to understand how effectively your registration and communication process turns sign-ups into actual attendance.
How Registration Differs by Event Type
The basic registration process stays the same, but the details should change based on the type of event you're hosting. A one-hour webinar does not need the same setup as a three-day virtual conference, and a networking event often requires information that would be unnecessary for either.
Build the registration process around the needs of your event. A simple event should keep questions and steps to a minimum, while a more complex event may need additional information and structure to create a smooth attendee experience.
Best Practices for Online Event Registration
Once your registration process is live, look beyond whether people can register. Use these practices to test the experience, understand where registrations come from, and identify what happens after someone signs up.
- Track registration sources with UTM parameters: Use UTM parameters and a consistent naming structure to create separate registration links for email campaigns, social media, paid ads, sponsors, partners, and community promotions. This keeps your data organized and makes it easier to compare which channels drive the most valuable registrations.
- Test the full registration journey: Register for your own event before launching it. Check the registration form, ticket options, confirmation email, calendar invite, access instructions, and links across different devices to catch issues before attendees encounter them.
- Compare registration with attendance and engagement: Connect registration and event data to track what attendees actually do after signing up. Compare registrations with attendance and engagement to see which campaigns bring in people who show up and participate, not just those who complete the form.
Make Online Event Registration Easier for Everyone
The best registration process makes the next step clear at every stage. Attendees should know what they are registering for, what happens after they sign up, and exactly how to join when the event begins.
For organizers, that means creating a registration experience that is simple for attendees while still providing the information and tools needed to manage the event effectively. When registration, communication, and the event experience work together, there are fewer opportunities for confusion or drop-off.
If you want to manage registration, attendee communication, and the virtual event experience in one place, explore Remo’s event registration and ticketing features or book a demo to see how it works.
Frequently Asked Questions About Online Event Registration
1. What is the best event registration platform?
The best event registration platform depends on your event format, registration needs, and budget. Look for a platform that supports customizable registration pages and forms, ticketing and payments, automated communication, attendee data management, and a smooth path from registration to the event itself.
2. How do I set up registration for an online event?
To set up registration for an online event, choose a registration platform, create an event registration page, build a simple form, configure tickets or payments, and automate confirmation and reminder emails.
3. What information should I collect for online event registration?
Most online event registration forms should collect a name and email address, with additional information added only when it supports event planning, personalization, networking, or follow-up.
4. How can I reduce no-shows for an online event?
Reduce online event no-shows by sending automated reminders, providing add-to-calendar options, clearly displaying the correct time zone, and making the event easy to access.
Zainab Asad
Zainab Asad is a Content Writer at Remo, contributing to the platform's mission of fostering authentic virtual connections. With a keen eye for detail and a passion for effective communication, she crafts engaging content that empowers event professionals to create memorable virtual experiences.